I love toddlers and I really miss the days when I had a bunch of them around.
Mostly.
I must confess I do like solitary trips to the bathroom and sleeping all night, but the antics of two and three year olds were such a joy to me in my mothering. Teenagers are pretty cool, but there isn’t the same joy in everyday occurrences that a toddler brings to the home.
That being said, homeschooling with a toddler (or three) around can be a serious challenge to learning as well as to Mom’s sanity. Little people don’t care very much about order, method, quiet or diligence. They want to explore and move and touch everything—all of which is perfectly appropriate and completely distracting to a homeschool day.
I spent many years teaching older children with a few toddlers underfoot, and here are some ways I coped with the chaos.
Independent Mobility
First, let’s decide who and what we are talking about. Toddlers are typically children ages one to four who are independently mobile; that is to say they can toddle around pulling things down upon their sweet little heads and tossing objects willy-nilly everywhere. This is called independent mobility, and many a cherished item in my (and yours I’m sure) home has been sacrificed to it.
The toddler stage is extremely important to human development. Children at this stage cease to grow physically as quickly as they do as infants, but their social and intellectual growth accelerates tremendously.
Young toddlers become aware of themselves as people separate from their parents, and they are developing more cognitive skills at this stage than they will ever again in their lives. They are capable of deep concentration in short spurts and will learn mostly by imitating others.
It’s the imitation that will get you in the beginning. An eighteen-month-old wants to do what all the older siblings are doing, so she MUST sit at table and loudly proclaim her need for pencils and paper and make a huge mess only to be bored in a few minutes and need to move on to something else.
All of it is perfectly developmentally appropriate, and even necessary to all those new neurons making connections in her brain, but not conducive to peaceful homeschooling.
Mommy Watch Me Do
To help your day run a little smoother you must first take steps to recognize the little one’s deep and simultaneous need for independence and attention: “Mommy watch me do.”
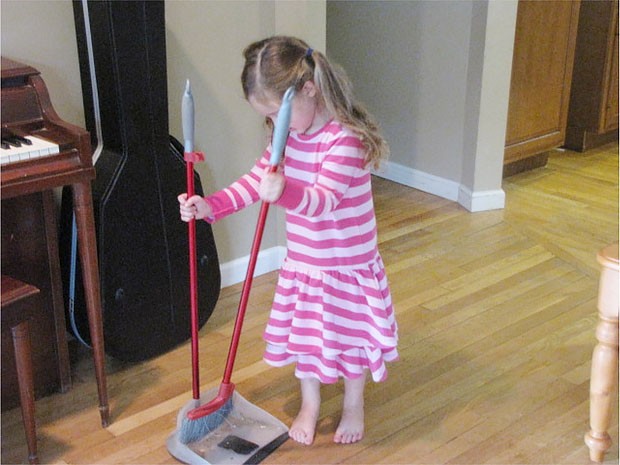
This can happen early in the morning before school starts by giving him a job to do. A small broom and dust pan, a wet cloth to wipe things, some plants to water, or some mixing in the kitchen are all very exciting. Toddlers love to be busy and to be admired. Lots of exclamations as to what a good helper and a small reward (a cracker, grapes, a sticker) can help as well.
After this, but before your school day, ask the little one what he or she would like to do and then spend a few minutes playing. Get down on the floor and play trains or dollies, have a tea party or roll a ball around. Play chutes and ladders or play dough. Whatever they want.
Give them your whole attention.
Part of the Activities
When you are ready to begin school, include your little people in morning prayers and devotions. This will make them feel like part of things. Again, a little job is helpful here: passing out rosary beads, assigning turns for intercessions, blowing out the candle—all will shower attention on your sweeties and let them know that they are part of the activities.
I always found including a few minutes of circle time to be a wonderful idea when the children were young. After prayers, we would recite the Pledge of Allegiance and then I would read a story appropriate to the season, a saint story or something reflecting the natural season, then a few songs.
Singing some patriotic songs, such as “My Country ‘Tis of Thee” and “This Land is Your Land” along with some fun, active songs, “Itsy Bitsy Spider” and “The Wheels On The Bus,” helped get some of the wiggles out.
Once all of that is done, it is time to work with the older children for a while. Now there are a few things you can do to occupy a little one, who should be ready for some independent play at this point. These were my favorites:
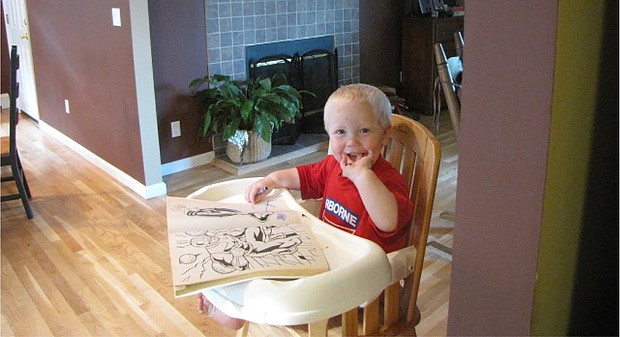
High-chair-age children can be given colored construction paper, a small plastic cup of water and a paint brush and told to paint.
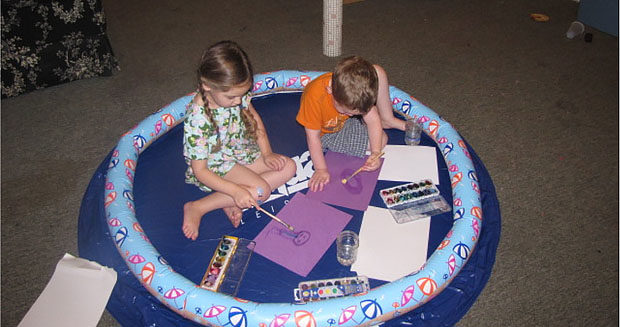
Older children can sit in a blow-up kiddie pool. I buy these at the end of the summer, for about five dollars. They store easily (just deflate) and the little ones just love to sit there and play.
Ideas for Young Toddlers
- A play yard with some toys can be helpful.
- Some bean bags and a bucket provide lots of fun.
- A baby doll and two baby wipes. Tell the child to wash the baby. For some reason this will keep them busy for a really long time.
- A cookie sheet and magnetic letters.
- Get a big piece of cardboard (from a big box) and draw some roads on it. Give them some cars and let them “drive around town.”
- Set up a tent in the room and let them sit in there with a few toys. If you don’t have a tent, make one with some blankets and chairs.
- A pile of pipe cleaners can be great fun to sculpt with.
Ideas for Older Toddlers
- Three and four year olds can be given a glue stick, some ripped out magazine pictures and some paper and told to make collages. You can promise to mail it to Grandma, so it must be extra beautiful.
- Playdough is fun. I was always able to find playdough toys at garage sales and added a few things from around the house: cookie cutters, a small rolling pin, corks, an old butter knife, a spatula…
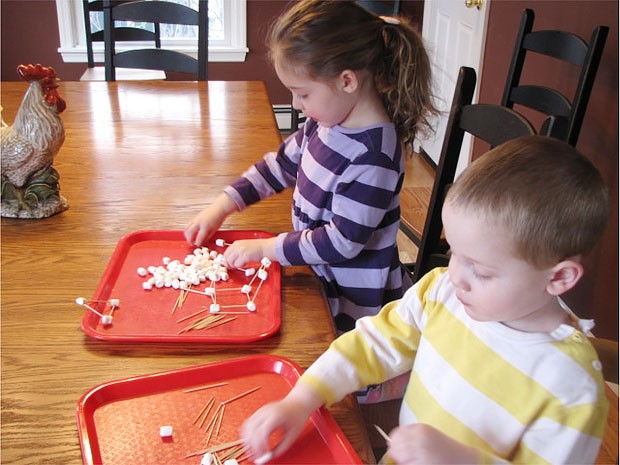
- A pile of mini marshmallows and some uncooked spaghetti or toothpicks can be used to build buildings.
- Scooping Cheerios from one plastic bowl to another is fascinating.
- Keep a box of cardboard to play with: toilet paper tubes, tissue boxes, cereal boxes, oatmeal containers. Ask them to build a castle.
Toddler School
I also found it extremely helpful for the older toddlers to have their own school box and work to do. They could join us at the table only if they were going to “work” quietly.
In their box I would include sticker books, a small chalkboard and chalk, a few picture books (changed out occasionally), a flexible binder full of printed out coloring pages, a box of crayons, a few magazines to play with, alphabet flash cards, number flash cards and some dot-to-dot books.
Nap Time
Another strategy is to take full advantage of nap time. I tried to get all the little ones to sleep at the same time and the younger elementary kids were dispatched to something quiet.
This was my time to spend entirely on an older child who needed help or to teach something new. All science experiments, video tutorials, and demonstrations took place at nap time.
This can also be done when the babies go to bed at night. Yes, you can homeschool after dinner if that is what works best for you at this stage of your life.
Homeschool moms must be flexible! I promise, your seventh grader will not be happy, but he won’t burst into flames if his history lesson takes place at 8:00pm or early on a Saturday while Dad watches the wee ones. He may even come to like working in peace.
All this being said, there are days when none of this works. I am here to tell you that even the most prepared mom, the mom who has shelves, baskets and boxes of carefully curated toys thoughtfully prepared to keep her little ones amused and educated, will sometimes be driven to a drooling, babbling mess by an intractable toddler.
It’s the nature of the beast, and those little ones all have their beast days. As I became older (and hopefully wiser) I tried to see those days as God telling me that this one won’t be little much longer, and my time might be best spent accepting that an hour spent cuddling on the couch, pushing a swing, giving a bubble bath or anything else won’t destroy my homeschool.
In fact, isn’t this why I homeschool? To spend time with my children, to see to their needs, to foster a loving relationship that will nurture us both forever?
Older children who see this care will not only be more helpful to you but will take these lessons on to their own families, and the cycle of loving babies and finding joy in their presence will live long and in so doing change the world.
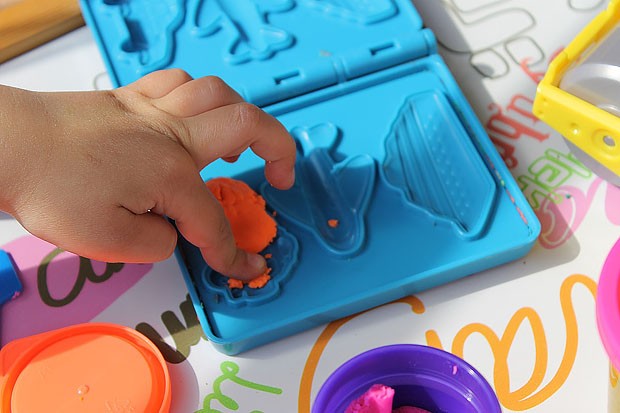
Mary Ellen’s Play Dough Recipe
Basic ingredient ratios:
- 2 cups flour
- 2 cups warm water
- 1 cup salt
- 2 Tablespoons vegetable oil
- 1 Tablespoon cream of tartar
- food coloring (liquid, powder, or unsweetened drink mix)
- scented oils
Directions
Pour the water in a sauce pan and add your food coloring; if you don’t color it, the play dough will be a natural tan color. Mix well and then add the remaining ingredients. Heat slowly over medium low heat stirring constantly until the mixture thickens, becomes solid and forms a ball.
This will take about ten minutes. As soon as it balls up, remove from heat and flip onto a flat surface (I use my wooden cutting board). When it’s cool enough to handle, knead with the heel of your hand for about five minutes until it’s smooth. If you are going to add an essential oil, do so during the kneading.
Let it cool completely and then you are ready to play.

 Seton Magazine Catholic Homeschool Articles, Advice & Resources

